Crafting high-performing email campaigns doesn’t just depend on your content – it also relies on how your emails are delivered.
Whether you’re a seasoned marketer or a casual email user, fine-tuning your sender settings can make a world of difference.
In this guide, we’ll walk you through the simple steps to set up senders in Outbound Rocks for your specific email provider. Plus, we’ll share some key tips to boost your email performance even further.
Before we dive in, let’s refresh our memory on some essential concepts…
TABLE OF CONTENTS
– What is a Sender?
– What is an Email Provider?
– How to set up senders based on your email provider
– Additional tips and considerations
– Conclusions
What is a Sender?
A sender refers to the entity or source responsible for sending out marketing emails to a targeted audience.
It could be an individual, a company, or a marketing platform managing email campaigns on behalf of a client.
The email marketing sender plays a crucial role in crafting and distributing promotional content, newsletters, or other communication to a list of subscribers or potential customers.
When configuring email settings for a sender, such as specifying the host, username, password, and other details, these settings need to align with the requirements of the email provider.
What is an Email Provider?
An email provider, also known as an email service provider (ESP), is a company or service that offers email hosting and facilitates the sending, receiving, and storage of emails.
Some popular examples include Gmail, Yahoo Mail, Outlook, and others.
Email providers typically offer users email addresses, storage space for messages, and additional features like calendars and contact management.
How to set up senders based on your email provider
Next, we will see how to correctly setup your senders created in Outbound Rocks to your email provider.
Let’s start with the webmails!
Ferozo
Host: xxxxxx.ferozo.com (for example c211374.ferozo.com. This host domain will be provided by your email provider).
Username: john_doe@subdomain.yourcompany.com (add the email for the sender, it should be an already created email account).
Password: xxxxxxxx (It’s the same password you need to access your emails in the webmail aplication. It should not have “/” or “\” characters).
Type of connection: smtp (if you select this option you will have more deliverability. But if you want to use your actual Sengrid account, select that option).
Port: 587
Collect Replies: True (select this checkbox if you want to see the responses in the “Inbox” section of Outbound Rocks).
Type of Mailbox: imap
SSL option: True (select this checkbox).
All collected emails will be deleted from the account unless you specify the name of the archive folder* : Archive (you need to write the name of a folder already created in your webmail. We recommend using the “Archive” name).
DirectAdmin
Host: subdomain.provider.com (This host domain will be provided by your email provider and sometimes is your domain).
Username: john_doe@subdomain.yourcompany.com (add the email for the sender, it should be an already created email account).
Password: xxxxxxxx (It’s the same password you need to access your emails in the webmail aplication. It should not have “/” or “\” characters).
Type of connection: smtp (if you select this option you will have more deliverability. But if you want to use your actual Sengrid account, select that option).
Port: 587
Collect Replies: True (select this checkbox if you want to see the responses in the “Inbox” section of Outbound Rocks).
Type of Mailbox: imap
SSL option: True (select this checkbox).
All collected emails will be deleted from the account unless you specify the name of the archive folder* : Archive (you need to write the name of a folder already created in your webmail. We recommend using the “Archive” name).
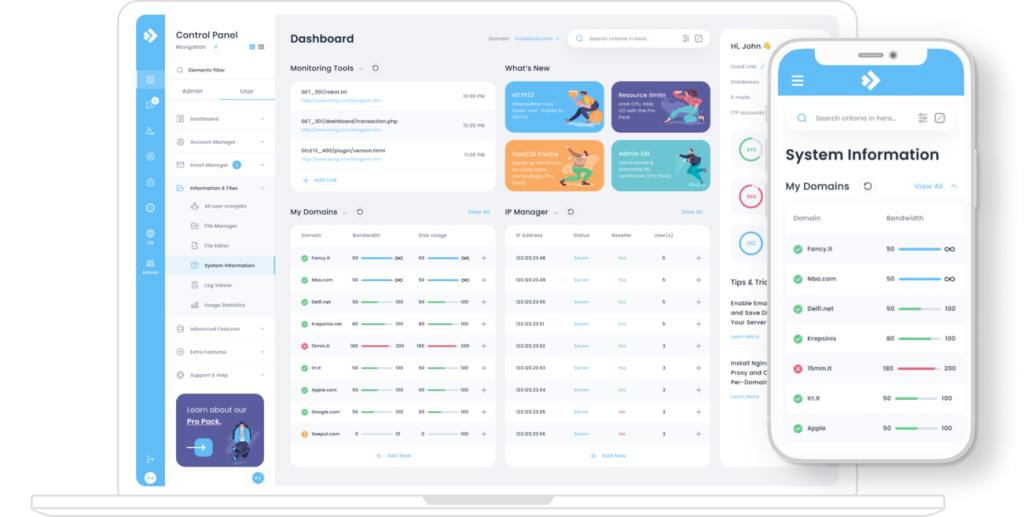
Directadmin dashboard:

Additional tips and considerations
Finally, we provide some additional tips to help you optimize your sender setup for better performance, compliance, and overall success.
1. Stay informed about updates
Stay on top of updates and changes from your email provider. Email platforms may introduce new features or change existing settings, and staying informed will ensure that you adjust your sender configurations accordingly.
2. Compliance with regulations
Stay on top of email marketing regulations, such as GDPR and CAN-SPAM. Ensure that your email campaigns comply with these regulations to maintain trust and legal compliance.
3. Security measures
Ensure the security of your email sender setup by using strong, unique passwords. Update passwords regularly and consider enabling two-factor authentication, if supported by your email provider, for an additional layer of protection.
Conclusions
In this article we talk about how to set up your senders created in Outbound Rocks with your email provider.
If you have not yet tried Outbound Rocks, fill out the form below and we will contact you shortly!
