In this tutorial, we’ll learn how to automate mailboxes using the Setup Account Domains feature. Read on if:
- You have an Outbound Rocks account and want to create multiple domains.
- You want to manage your email communication in an efficient way and automate all your email accounts.
ℹ️
Upload Manager: is a feature that allows you to create multiple domains for your account.
Mailbox automation
For many of our users, managing email communications is a critical aspect of their daily business.
To meet their communication needs, they often resort to creating multiple accounts on platforms like Gmail, at a significant cost of $5 to $6 per account.
Once these accounts are set up, they link them to email delivery platforms such as Outbound Rocks or Apollo, among others.
While this method allows them to consolidate the management of their accounts into a single application, we cannot ignore the fact that it requires a significant investment of time and money.
That’s why today we’re excited to introduce a new feature in Outbound Rocks that will revolutionize your email delivery experience.
With this new feature, automating all of your email accounts becomes a simple and quick process, allowing you to increase your delivery capacity without sacrificing valuable resources.
Here is how it works.
Setup Account Domains feature
Let’s say you already have your domains on Gmail or another email service. Next, we’ll show you how to use Outbound Rocks to set up multiple domains on your account.
The process is simple:
- Login to your Outbound Rocks account.
- Click on “Settings”.
- Select “Setup Account Domains“.
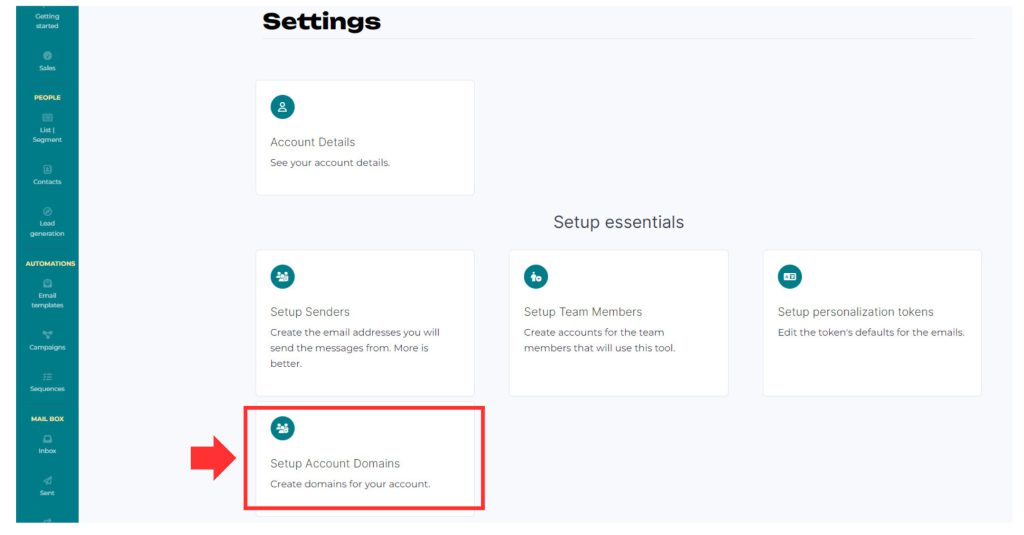
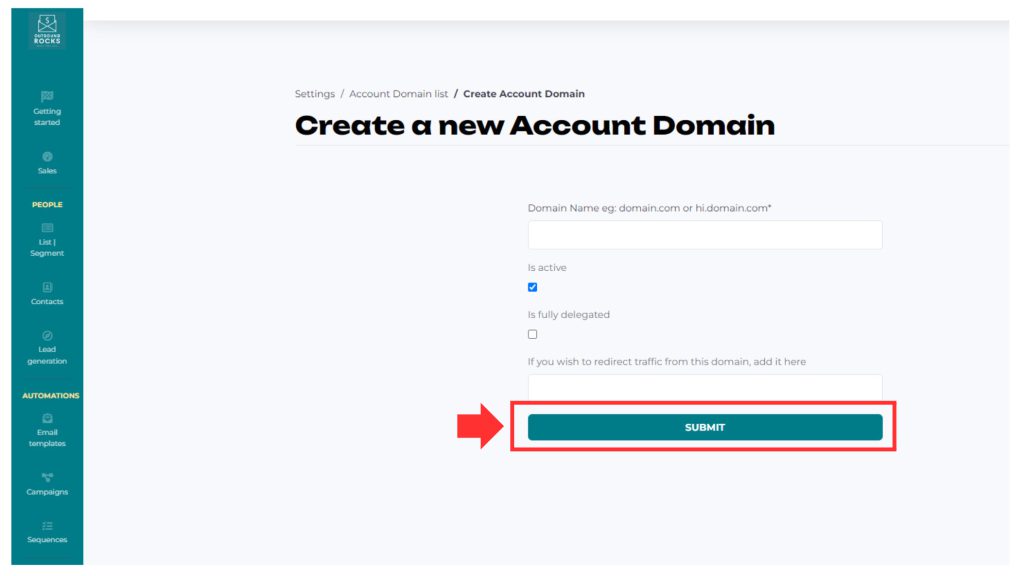
- Click “Create a new domain” and enter the domain name.
- Check both the “Is Active” and “Is Fully Delegated” checkboxes.
- Finally, add the domain to which you want to redirect traffic from this domain.
- Click “Submit“.
With this new feature, you’ll also be able to create subdomains to further increase your delivery capacity.
For example:
If you own the domain “bbh.ar”, you could create the subdomain “testing.bbh.ar” to increase your delivery capacity.
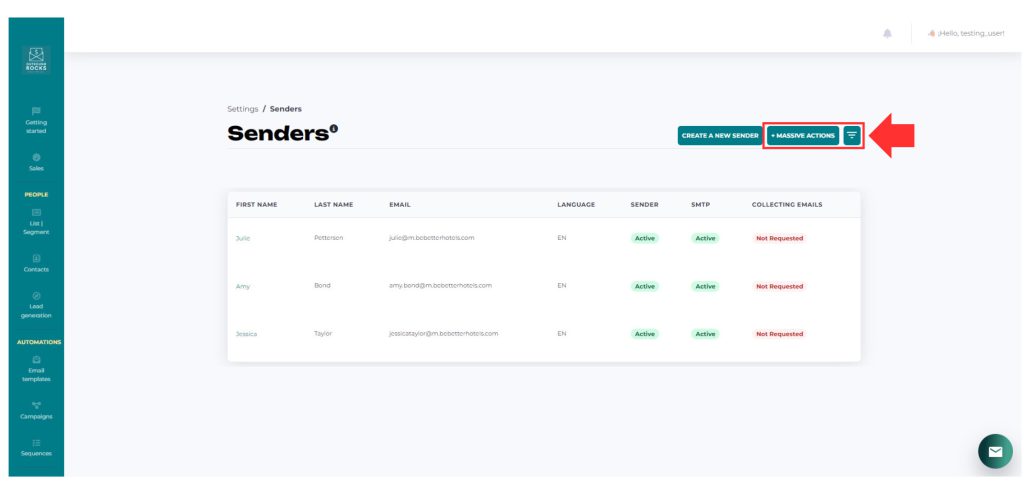
Setup Senders feature
So, what’s the purpose of creating all these subdomains? Well, the goal is to increase the delivery capacity of your accounts. Let’s walk you through the process:
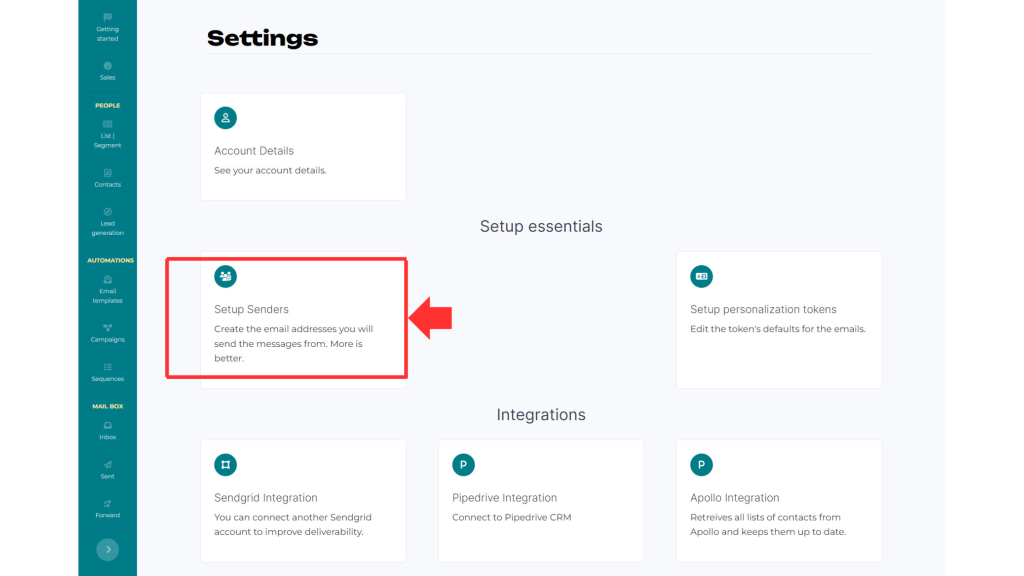
- Click on “Settings“.
- Go to “Setup Senders” to create all the email addresses you’ll be sending messages from.
- Navigate to “Massive Actions“.
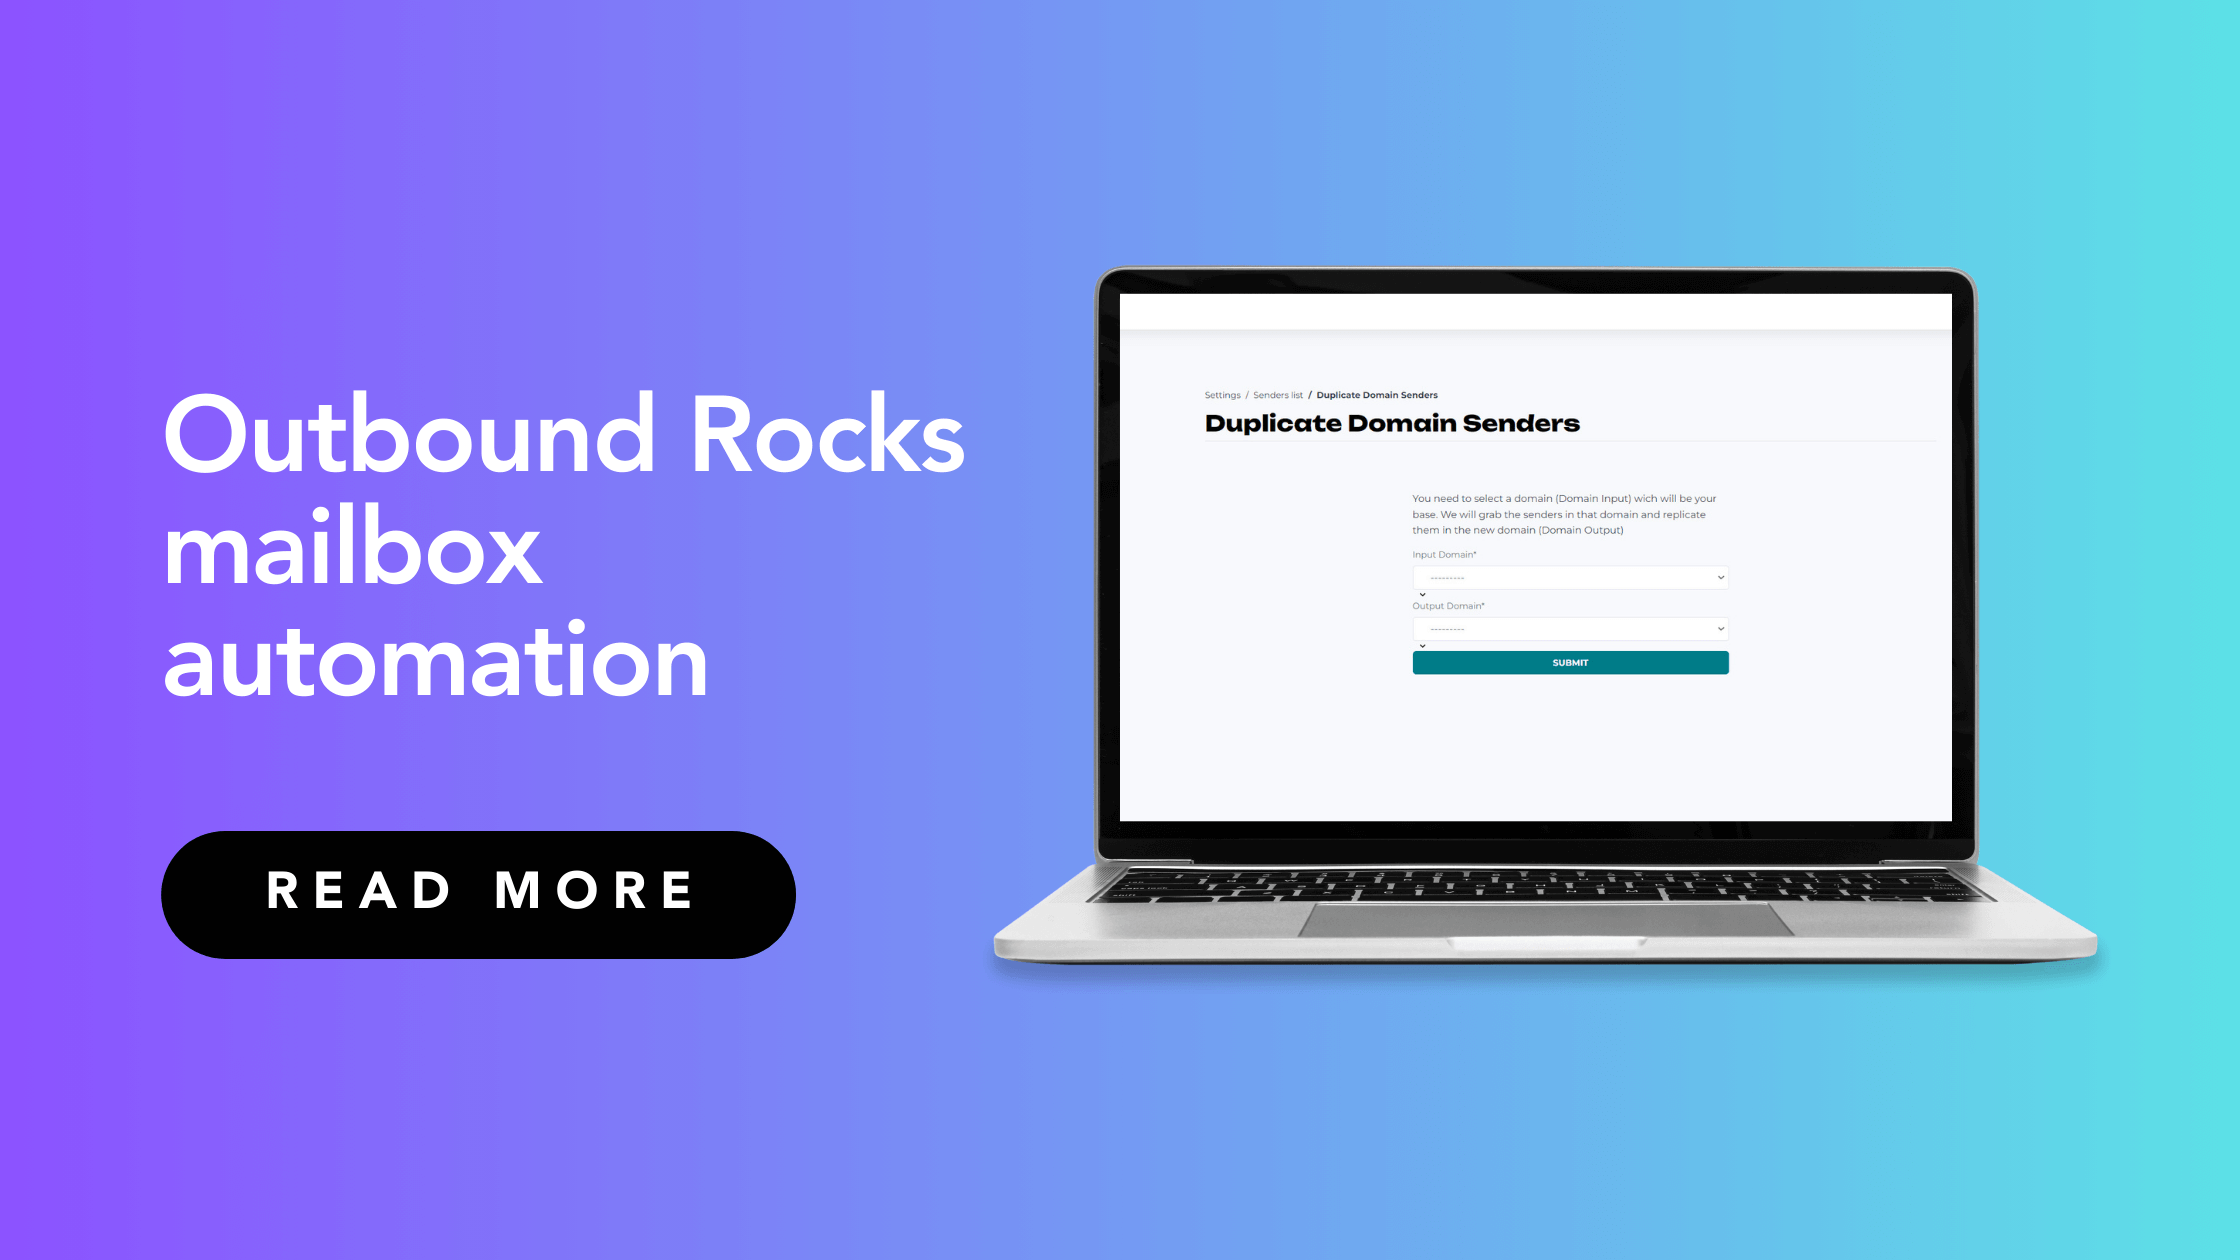
- Click on “Copy senders to new domain“. Here, choose a domain (domain input) which will serve as your base and we’ll duplicate the senders from that domain to the new domain (domain output). For instance, you could copy all the senders from the domain “bbh.ar” (domain input) to the subdomain “testing.bbh.ar” (domain output) with just one click.
- Click on “Submit“.
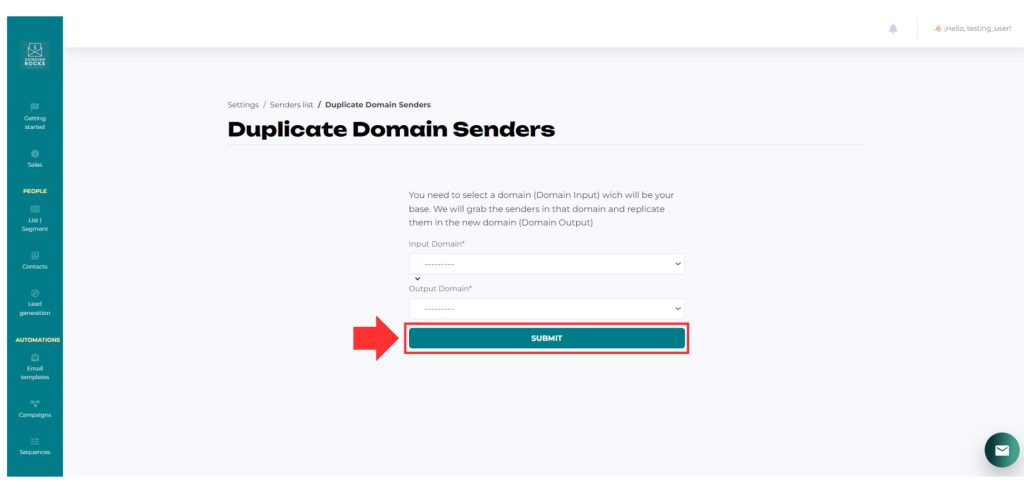
This way, you replicate senders from one domain with just a single click.
What used to take more time and manual effort is now seamlessly automated within Outbound Rocks.
Increase delivery capacity
It’s interesting to note that when a new sender is created, it starts with a maximum of 10 emails per day that it can send.
When we start using the sender, it goes through a warm-up process where one additional email is added each day until it reaches 35, which is the maximum allowed and our recommended threshold.
But what if you need more than that? If you need to send more than 35 emails per day per account, simply create another subdomain and repeat the above process.
Learn how to set-up your Outbound Rocks account:
– How to upload contacts from Apollo
– How to import Contacts into Outbound Rocks
– Connect Outbound Rocks to your Apollo account
– Why is my sequence not sending all my emails?
– Why can’t I see any contacts in the email sequence I created?
If you have any further questions, you can always contact our friendly support team.
Drop us an email to support@outboundrocks.com and we’ll be happy to help you in any way we can.
And if you are not yet using Outbound Rocks, fill out the form below and we will get back to you as soon as possible.