In this tutorial, we will show you how to export contacts from Apollo and import them into Outbound Rocks in two simple steps. Read on if:
- You have contacts in Apollo that you want to add to a list in Outbound Rocks.
- You want to export your Apollo contacts so you can contact and track them in Outbound Rocks.
ℹ️
What is Apollo? Apollo is a powerful sales engagement platform that offers a wide range of features including contact and account management, email automation, prospecting, and analytics.
Uploading contacts from Apollo step-by-step
To make this process easier to understand, we will break it down into two simple parts.
1. Export Contacts from Apollo to a CSV File
- Log into your Apollo account.
- From the Apollo Search screen, click “Saved Lists”.
- Select contacts individually or use the bulk selection tools to select the people you want to include in your CSV export.
- Click “Export”.
- In the “Export as CSV” modal, select whether you want to export emails for all of your selected contacts or only those with verified emails. Please note that large exports containing more than 1000 contacts may take several minutes to download.
- When you’re done, click “Confirm”.
- A new modal will display the export process for your file. When the export is complete, click “Download” to save your file.
2. Uploading Contacts to Outbound Rocks
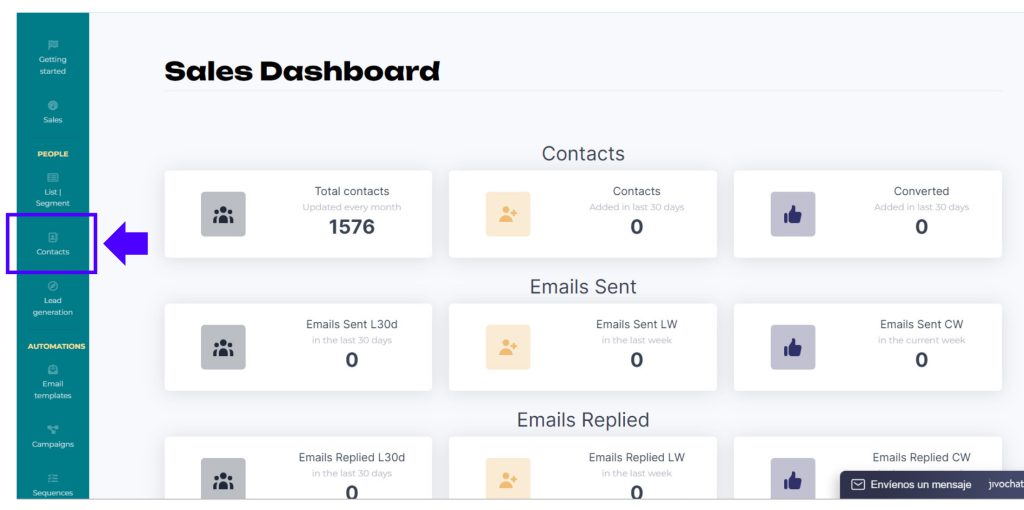
1. Log into your Outbound Rocks account.
2. Click on “Contacts” in the left bar.
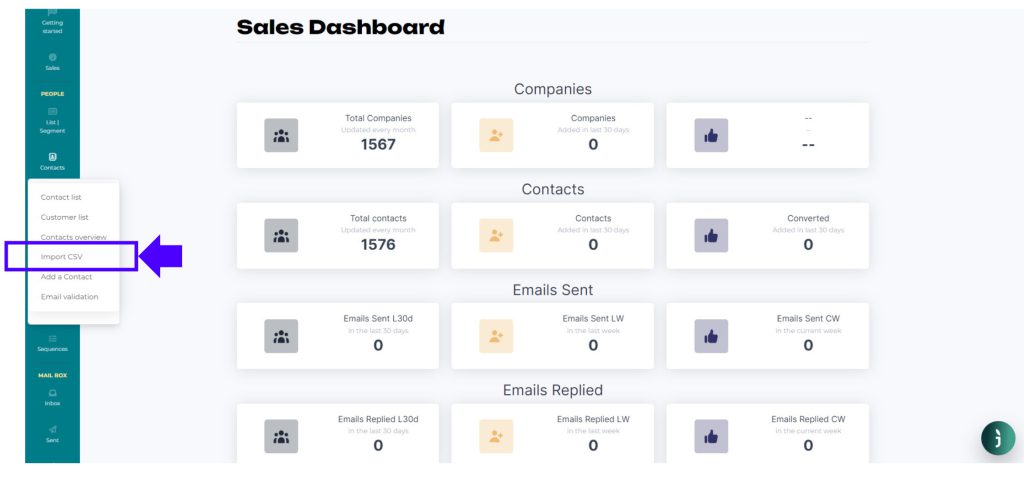
3. Click on “Import CSV”.
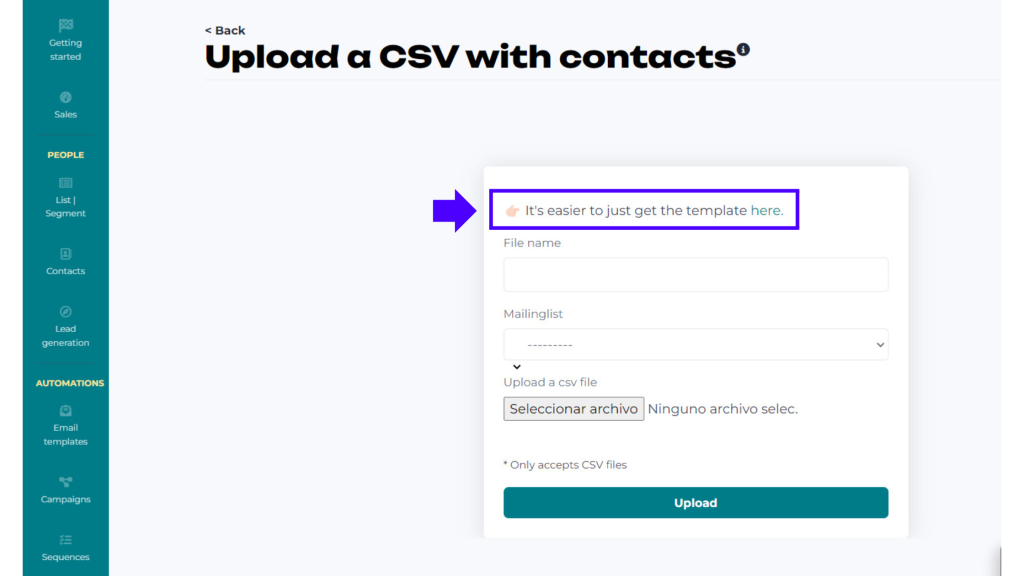
4. Click “Here” to select the template.
4. Once the template is open in Excel, make a copy and save it to your drive account or to your computer. Be sure to choose a proper name to identify this list, such as “Apollo Contacts.
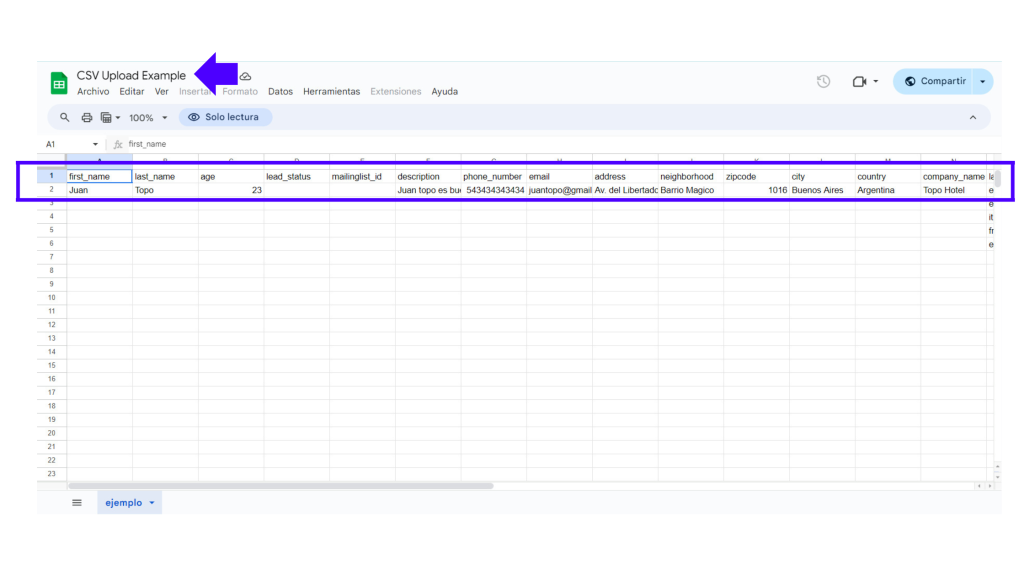
5. Open the template and fill in all the information:
- First Name: the contact’s first name.
- Last Name: the contact’s last name.
- Age: the contact’s age.
- Lead Status: The status of the lead. Fill it with the number 1 to indicate that it is a new contact.
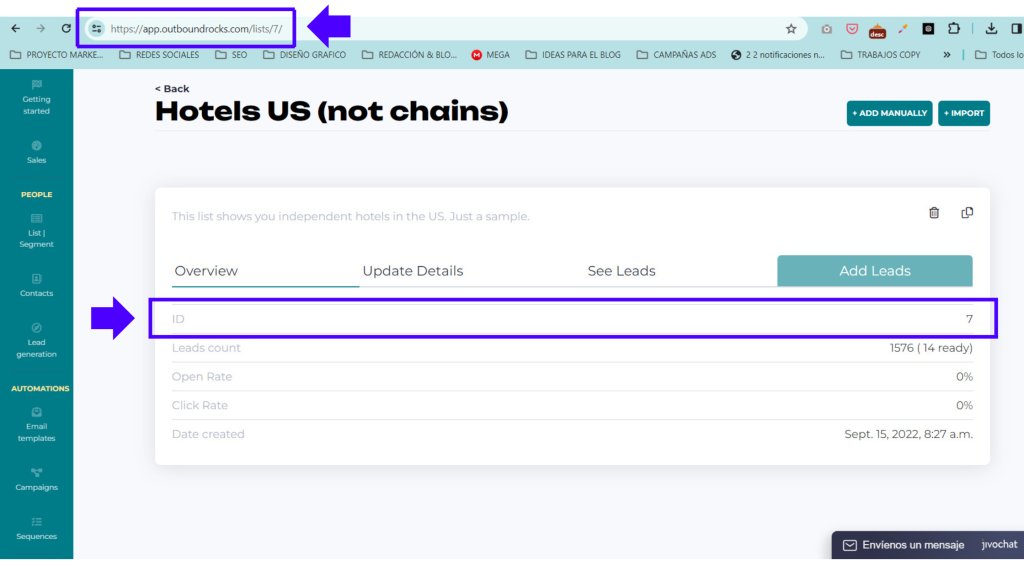
- Mailing List ID: is the ID of the list. You can find it by clicking on “List Segment” and then selecting the list.

The line ID indicates the ID of the list. You can also see it in the URL, as shown in the screenshot below.
- Description: Additional information or notes about the contact.
- Phone: the contact’s phone number.
- Email: the contact’s email address.
- Address: the contact’s street address.
- City: the contact’s city.
- Country: the country in which the contact is located.
- Company Name: the company name associated with the contact.
- Language: it is the language of the contact. Fill in using this format: en, es, fr or it.
- Email Validation: indicate whether your email is validated or not.
- URL: The website or URL associated with the company.
- Industry ID: An identifier for the industry to which the contact or company belongs.
- Business Type: The type of business associated with the contact (for example, retail, technology).
- Is-Customer: a true/false binary indicator of whether the contact is a customer.
- Number of Rooms: Fill in this field only if your business is a hotel. It represents the number of rooms in the hotel.
6. Once you have completed the file, click “Upload” and you are done!

Before you upload your contacts, remember this:
- It is important to keep the order of the columns, so we recommend that you do not modify the Excel template.
- If you want to add more columns, just let us know and we will do the work for you.
Well, as you can see, it is very easy to upload contacts from Apollo to our system.
If you have any further questions, you can always contact our friendly support team. Drop us an email to support@outboundrocks.com and we’ll be happy to help you in any way we can.
And if you are not yet using Outbound Rocks, fill out the form below and we will get back to you as soon as possible.